It’s that time of the release cycle! Plasma 5.9 is getting a new wallpaper, “Canopee”, French for canopy. Like the last wallpaper, Bismuth, we are again shipping with a 4K version.

This wallpaper is aiming for the same effect as Bismuth from Plasma 5.8, but the colours have been turned down from “11”.
The development of this wallpaper was a little bit harrowing; I had several designs which were started and scrapped in rapid succession. It’s easy to imagine a few lines in pencil as looking good, but in reality only the initial vector work will tell you if it’ll work. Inkscape for some reason also evolved a rather massive memory leak, swelling to 5+ GB of RAM usage after only a few dozen gradient adjustments, sending my machine grinding to swap.
As I worked I kept snapshots of various steps, so I’ll cover how this wallpaper was put together:
The first part of the making Canopee involves using Envelope or Perspective in Inkscape to set up the initial grid of ‘polygons’, trimming excess, then punching out the unique layers. Unlike Bismuth which had one layer of polygons at varied heights, Canopee had several complete layers of overlapping polygons.
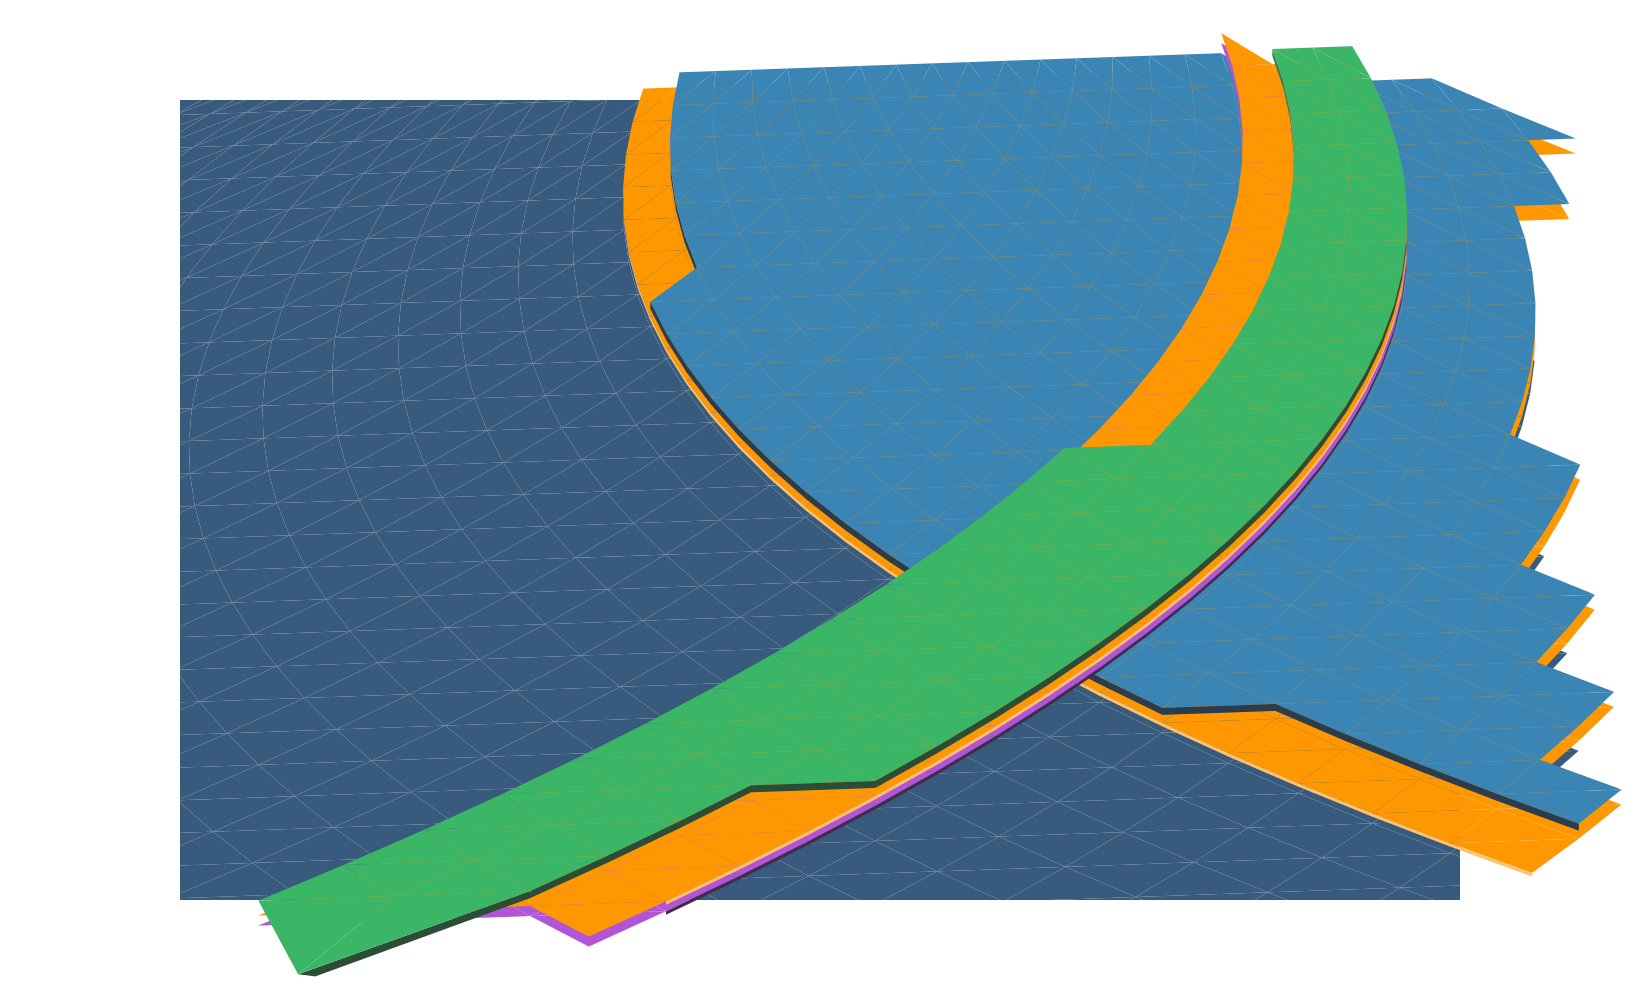
The next step is adding gradients and closing the seams. I need to add the gradient first otherwise I can’t see what I’m doing when I close the seams. If I don’t close the seams you get those white lines you may have seen in the early 5.2/5.3 wallpapers. Below is after I added the first set of gradients, and the first few rows of “closed seams”. Seams are closed by making every triangle overlap slightly, so I start from the back and manually adjust nodes for every ‘polygon’ in the wallpaper.
(Yes, manual. If you’ve been paying attention, each successive wallpaper has more polygons. I am, in fact, being slowly driven insane by this)
After getting the water and track done, the next step is the island. You can see that welding the seams makes things more solid. I’ve also made the yellow layers semitransparent, later they’ll glow with a soft light which is accomplished by adding a blurry solid underneath the layers.

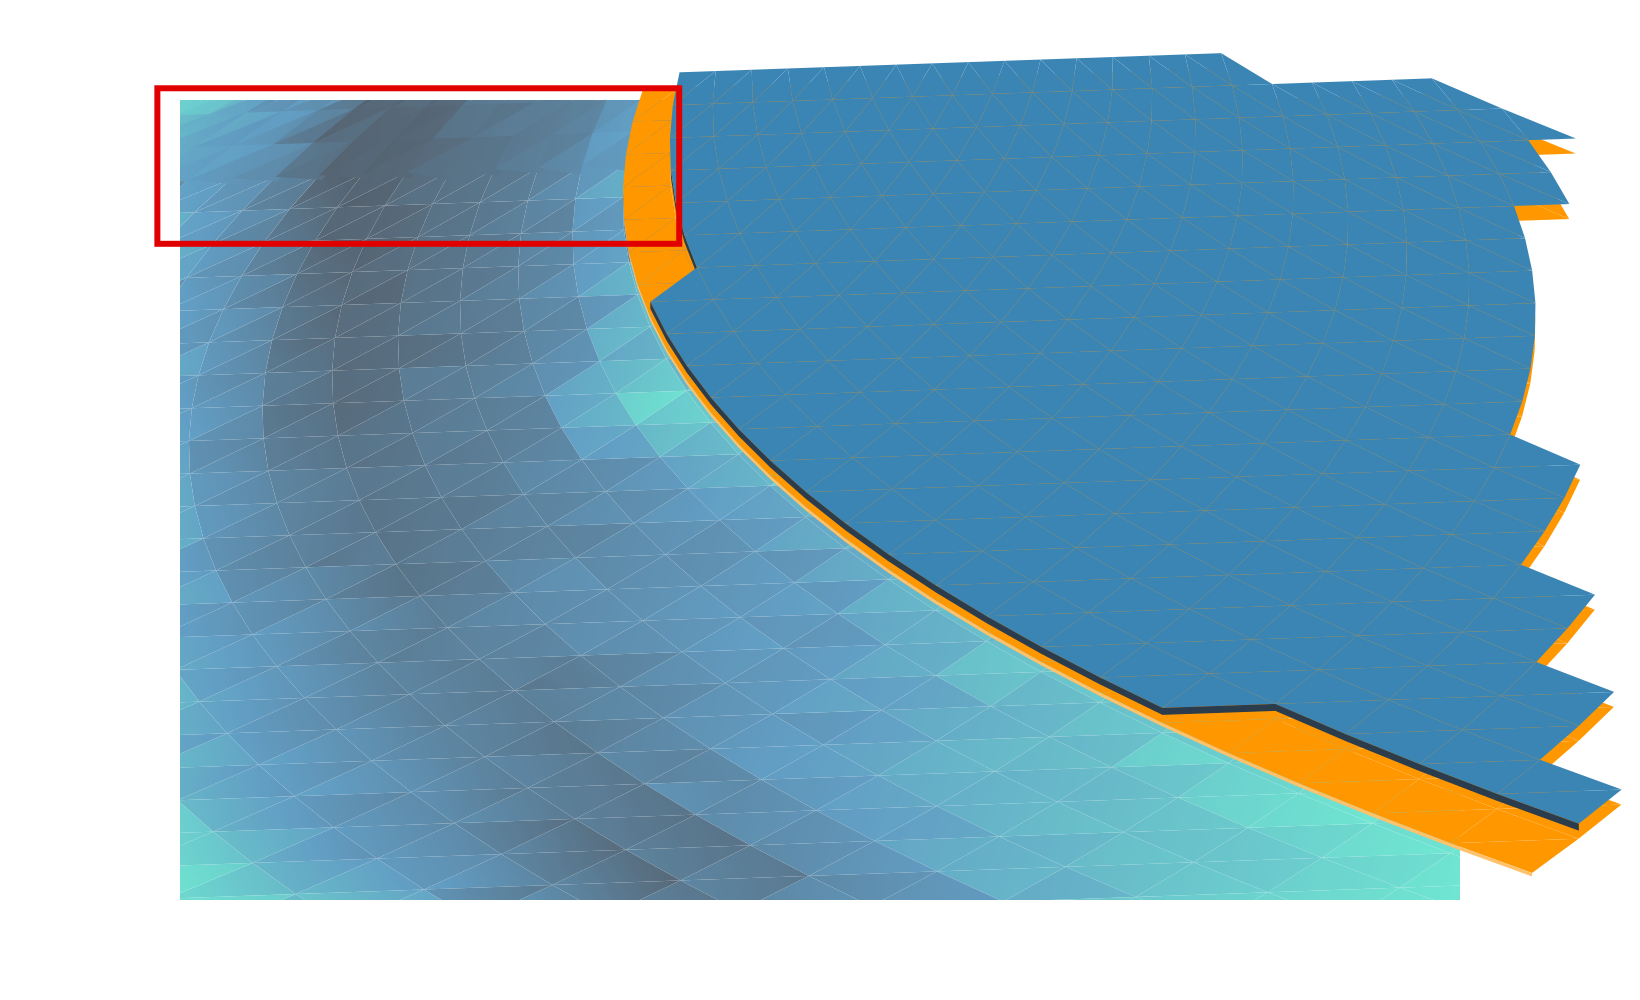
The “grass” will use vertical jittering to add texture and visual interest. This is actually one of the more time-consuming tasks as it requires huge amounts of manual correction and visual fixes. ‘Polygons’ are more often than not above and below each other when they shouldn’t be, and I have to manually add walls to make them look like columns. This is also the most error-prone part of the process, and some mistakes were caught as late as after adding post-processing in GIMP, meaning several fixes often have to be ‘backported’ to the master vector file. It was also at this point that I decided to dump purple and use exclusively ‘natural’ colours.

Finally, I add various fine touches, including reflections, more refined shadows, large glows, particles, etc. At this point everything is set in stone, so I create 3 more layers which will serve as masks in GIMP when I do post-processing. Each mask covers one area which I’ll want to apply a specific effect to; I try to use slur, pick, and thread filters on “liquids”, and noise filters with varying adjustments on other materials.
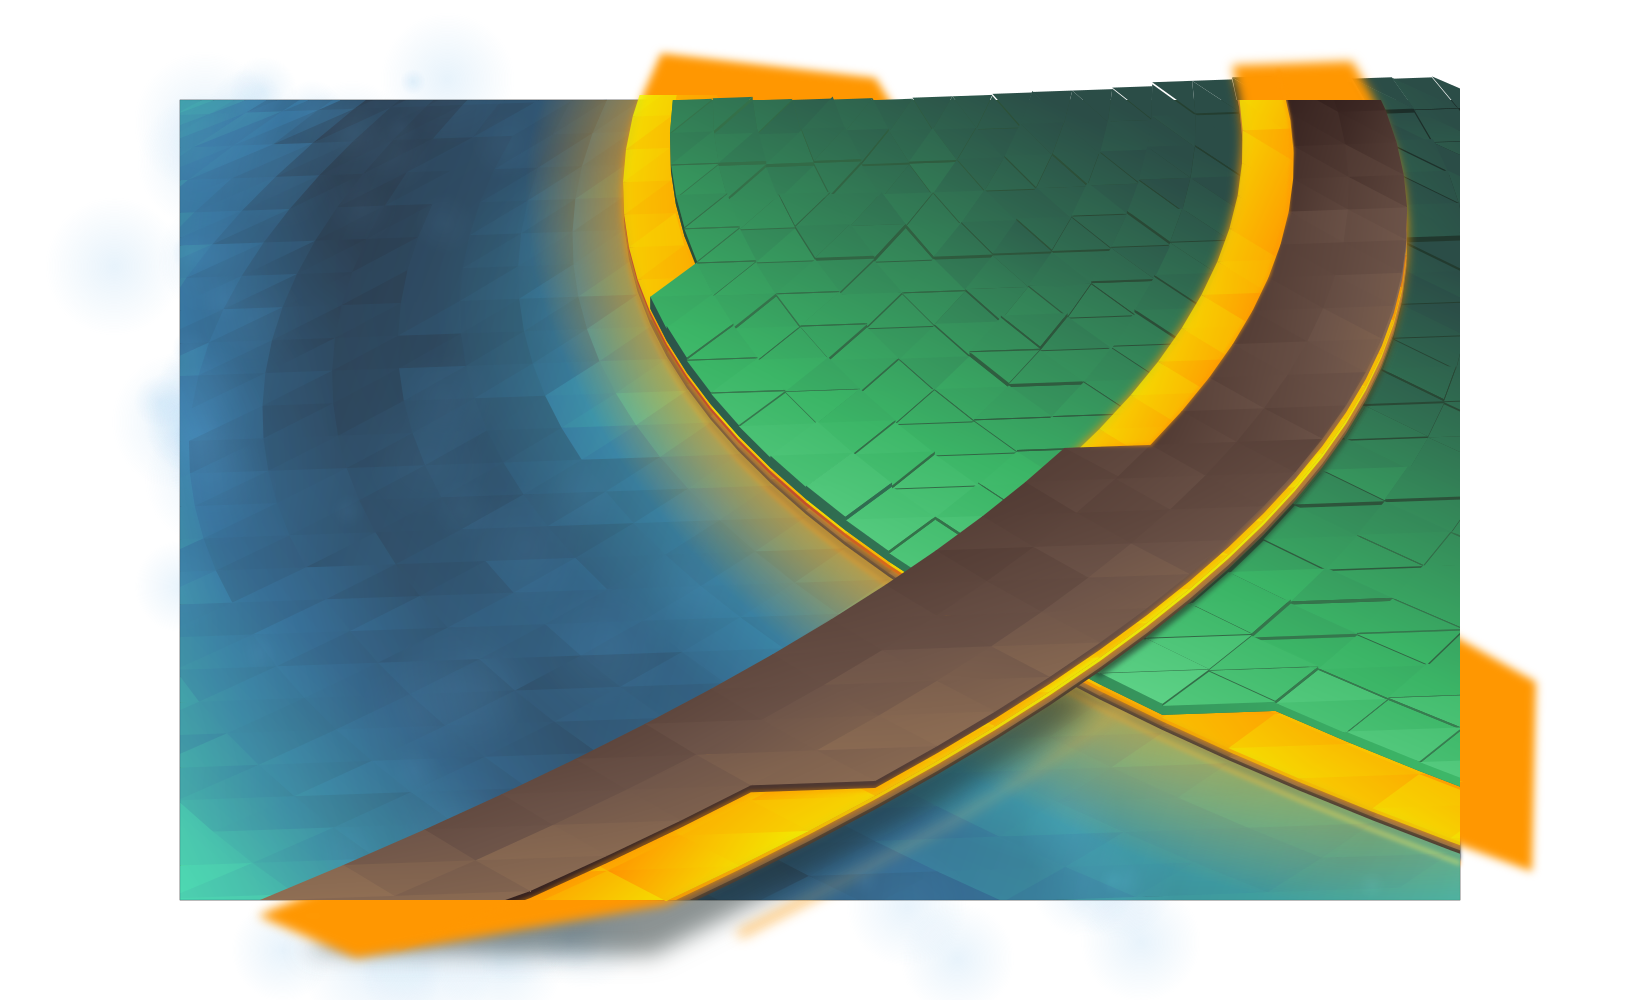

Finally I composite it all in GIMP at a 5120×3200 resolution. This wallpaper had a huge number of corrections in post, including one missed glow, a small run of polygons which were ‘flat’, and several mistakes in the jittered layer. After those corrections the final result is at the top of this post. This wallpaper will be available for Plasma 5.9 at 4K resolutions, but if you can’t wait to get it the top image links to the 2560×1600 version.